
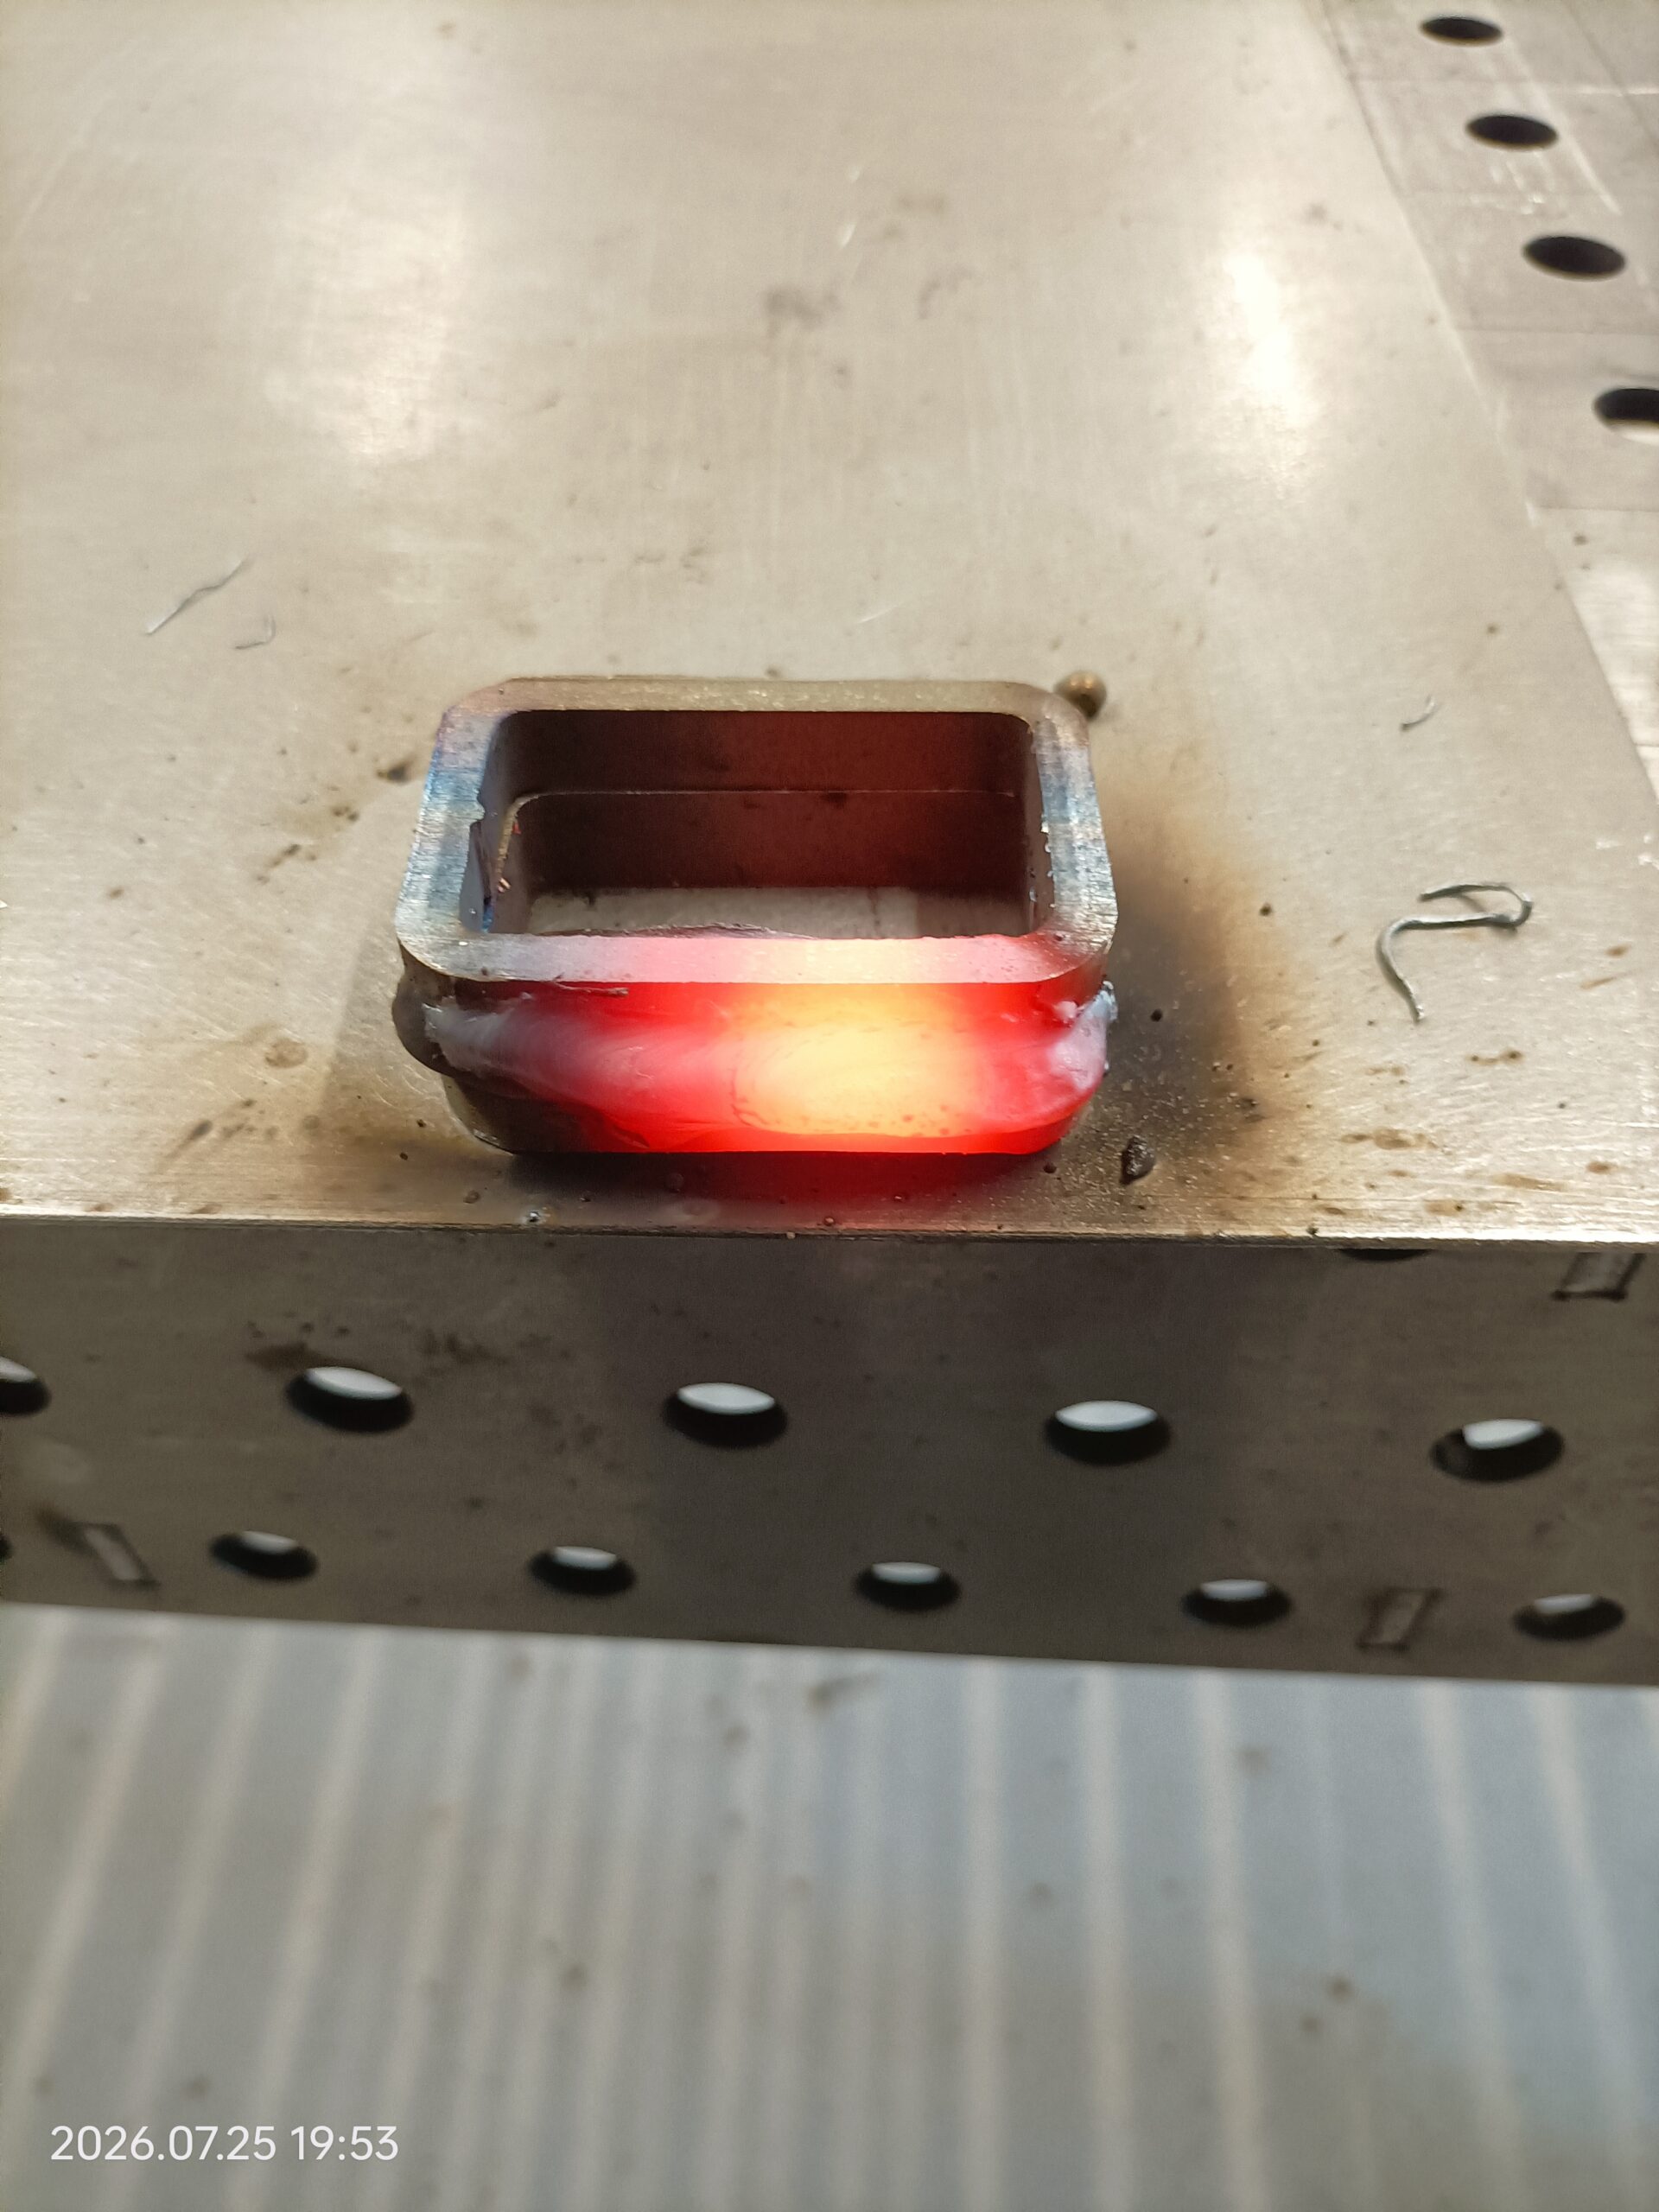
If you’ve been following Sentinel Blueprint for a while, you know I love diving into the world of making, creating, and safety engineering. But let’s be honest: not every day in the workshop ends with a perfect masterpiece. In fact, some days are just a series of stubborn machines, missing tools, and zero weld penetration.
And that is exactly what happened during my recent trip to the FabLab welding shop!
I wanted to practice my MIG welding technique, so I grabbed some metal pieces I bought from MHL Metal Handel and headed in. Here is the honest breakdown of how my session turned into a masterclass in patience—and why that’s completely okay.
Phase 1: The Stuck Cutter & Improvising Safely
My plan started smoothly enough. I picked up an angle grinder to clean up the metal and get it ready. But when it came time to cut the pieces down to size, I hit my first roadblock: the workshop’s heavy cutter was completely jammed. I couldn’t raise the blade high enough to slide my metal underneath.
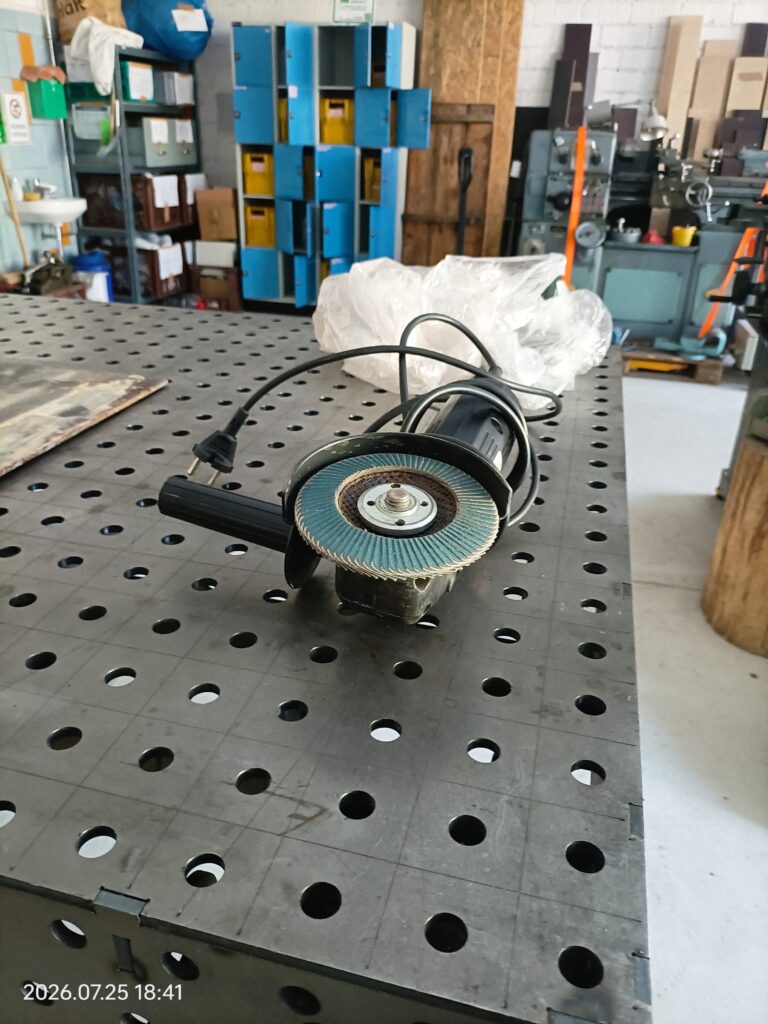
Handy dandy angle grinder, weaker but lighter 🎐
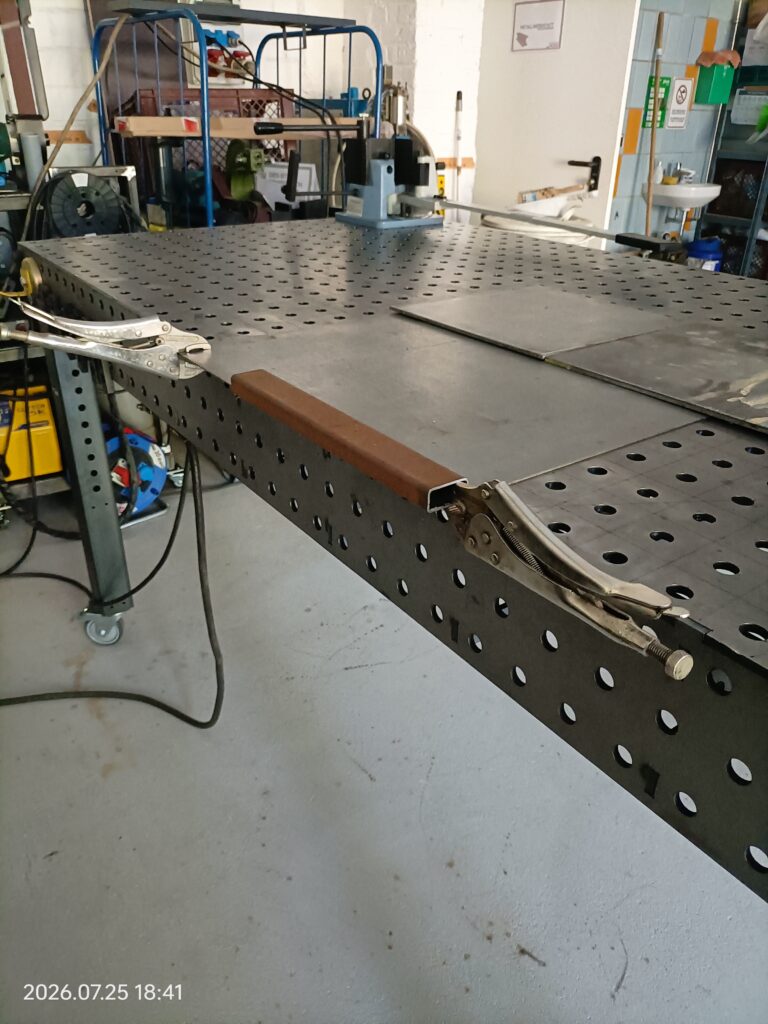
Metal was full of rust and needs to be cleaned up before welding 🕶️
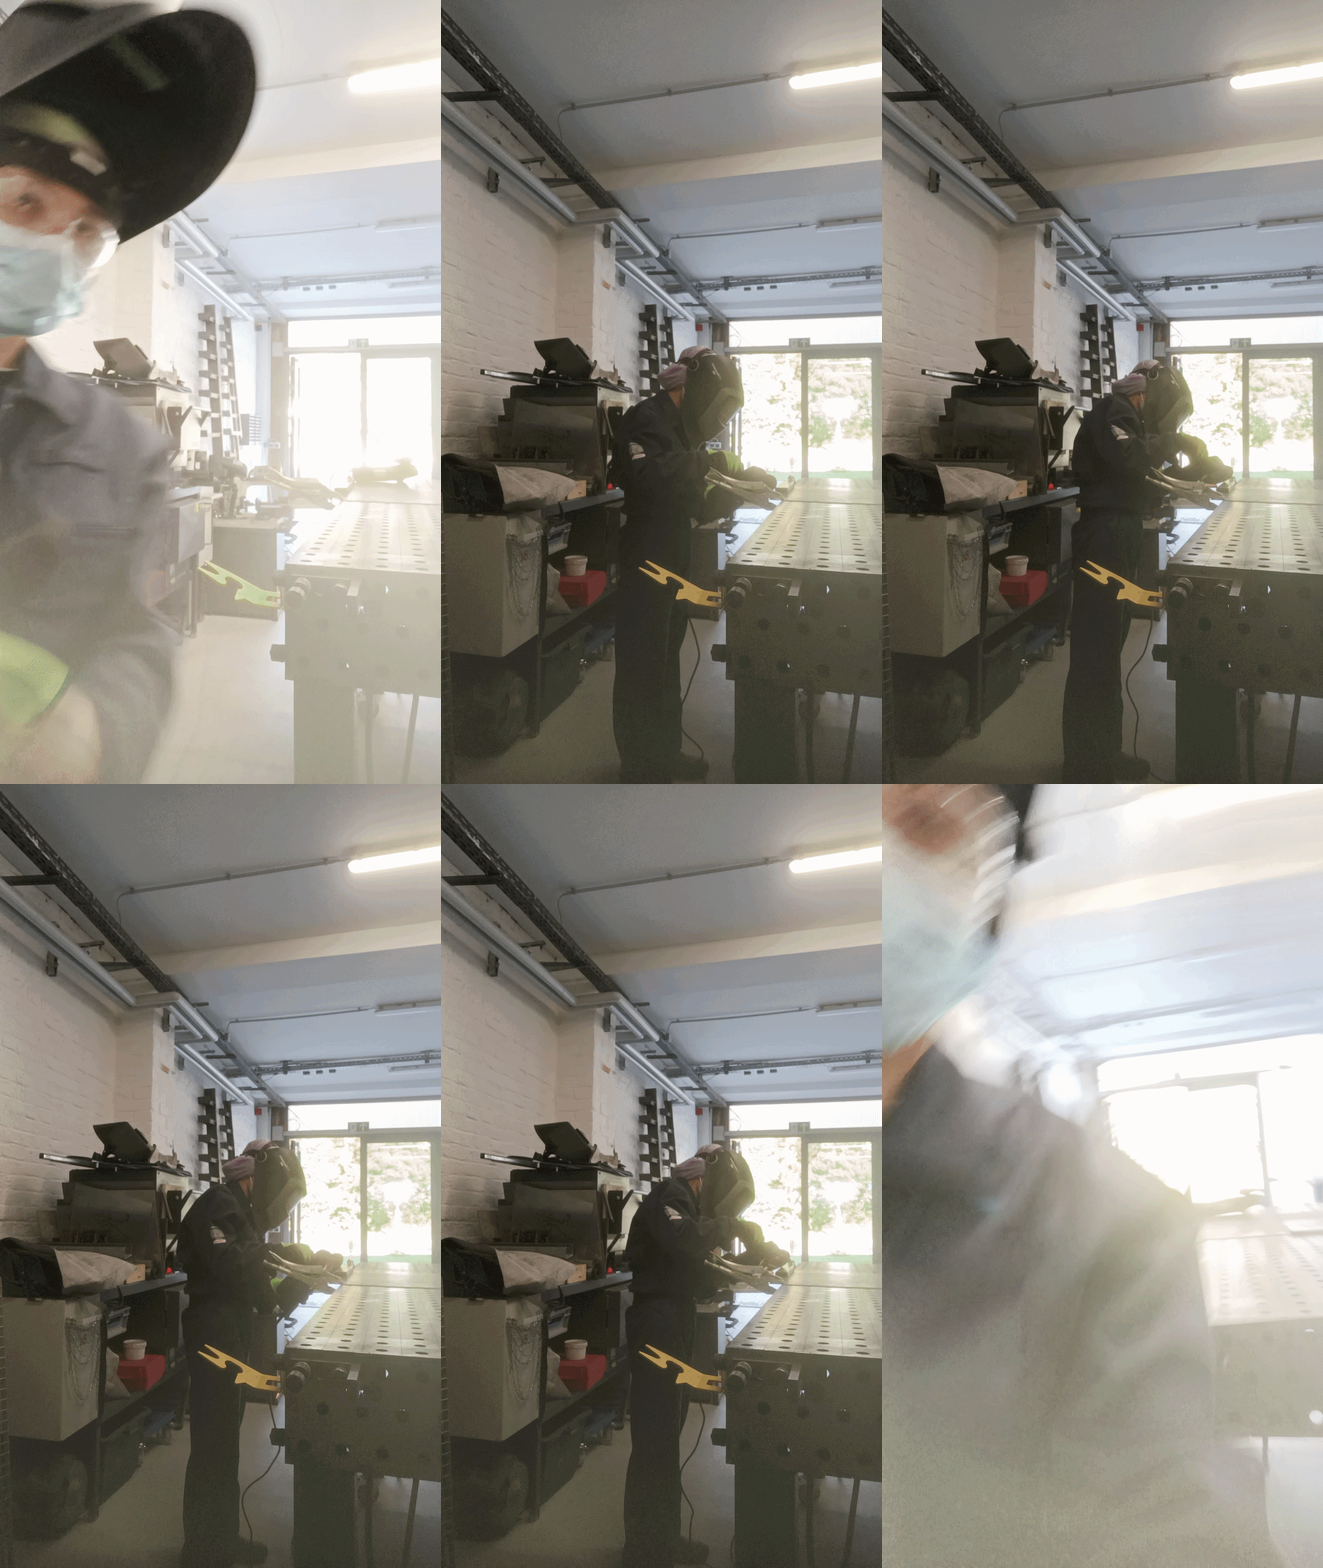
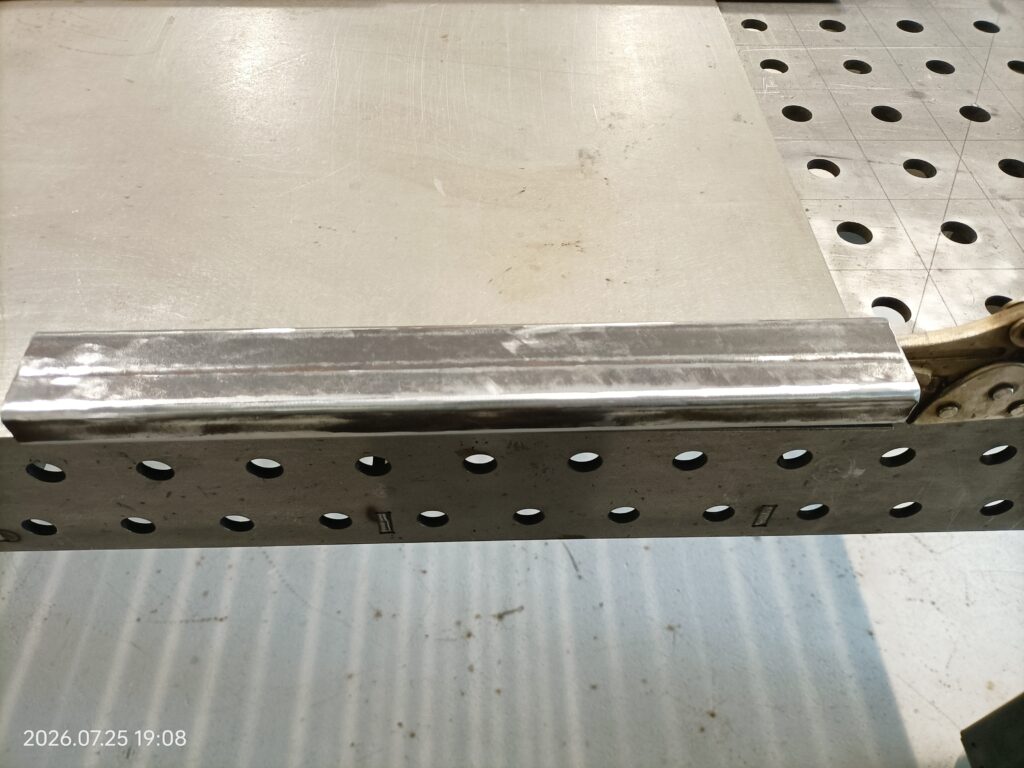
Now were are talking. Shiny and ready 🌟
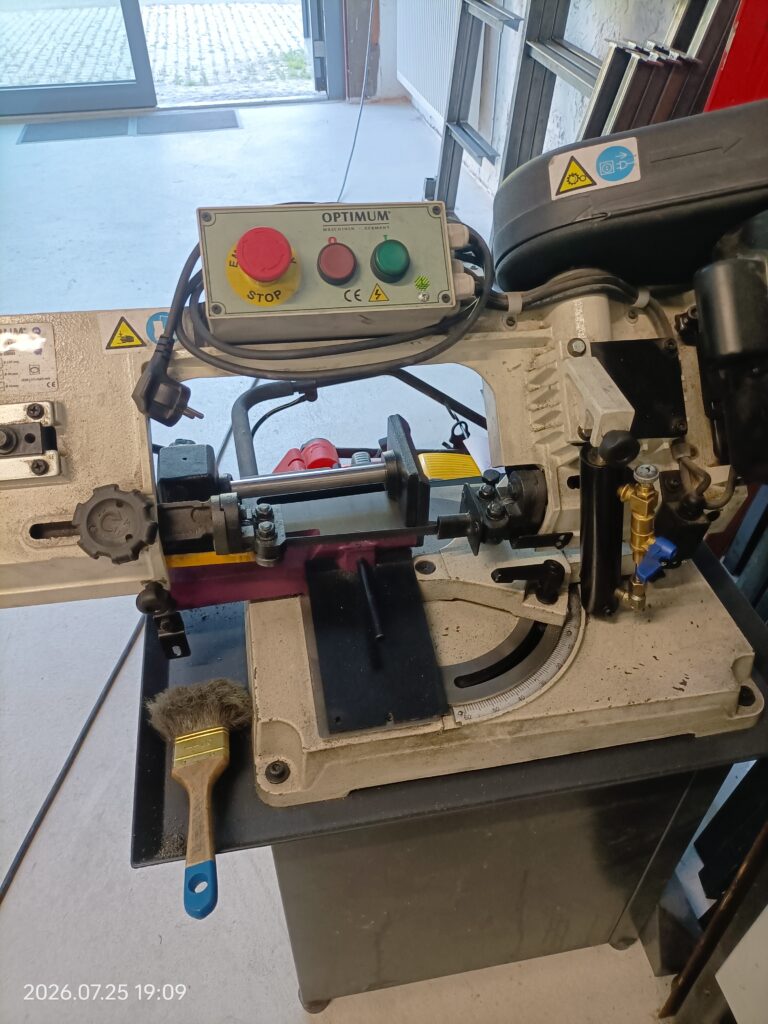
Why won’t you open up? 😭
Thankfully, I’ve cut metals before and knew how to pivot. Because my pieces were quite small, safety became my absolute number one priority. When working with small metal parts and an angle grinder, things can go flying in a split second. I made sure the vise clamps were firmly secured so nothing could slip out and become a dangerous projectile.
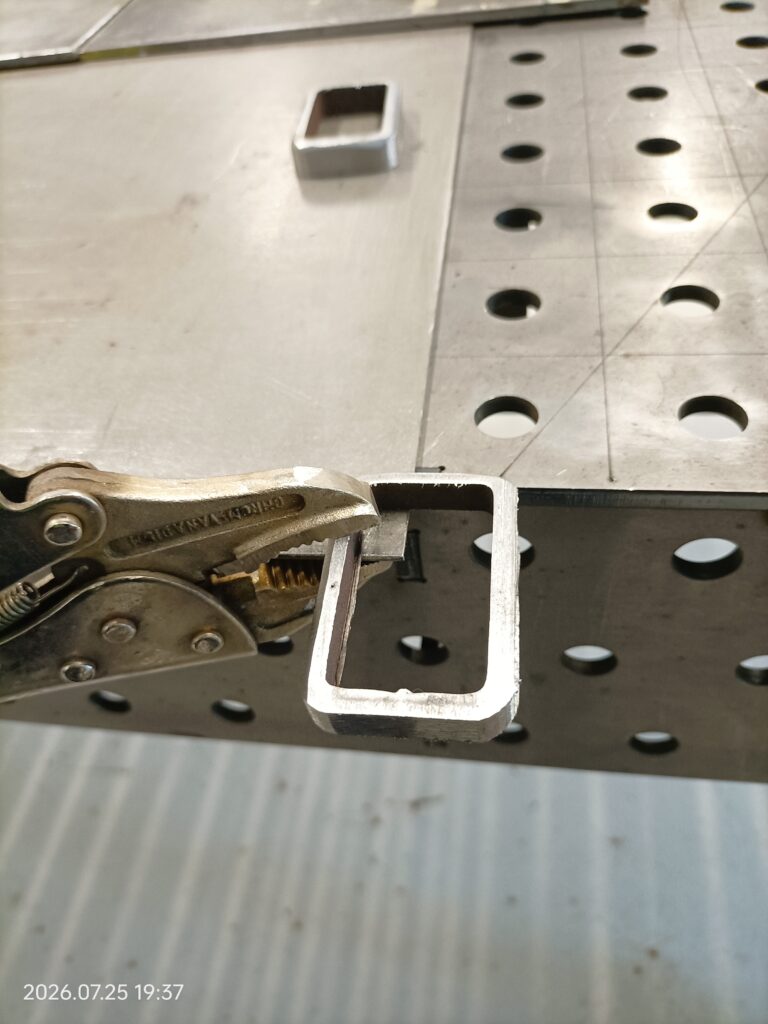
Really useful. Reminds me of an Alien from Aliens vs Predators 😅
Phase 2: Missing the Mark with the MIG Gun
With my small pieces secure, I prepared the edges for welding. To get a strong weld, you need to grind a slight bevel or “dent” into the metal so the weld puddle can sink deep into the joint.
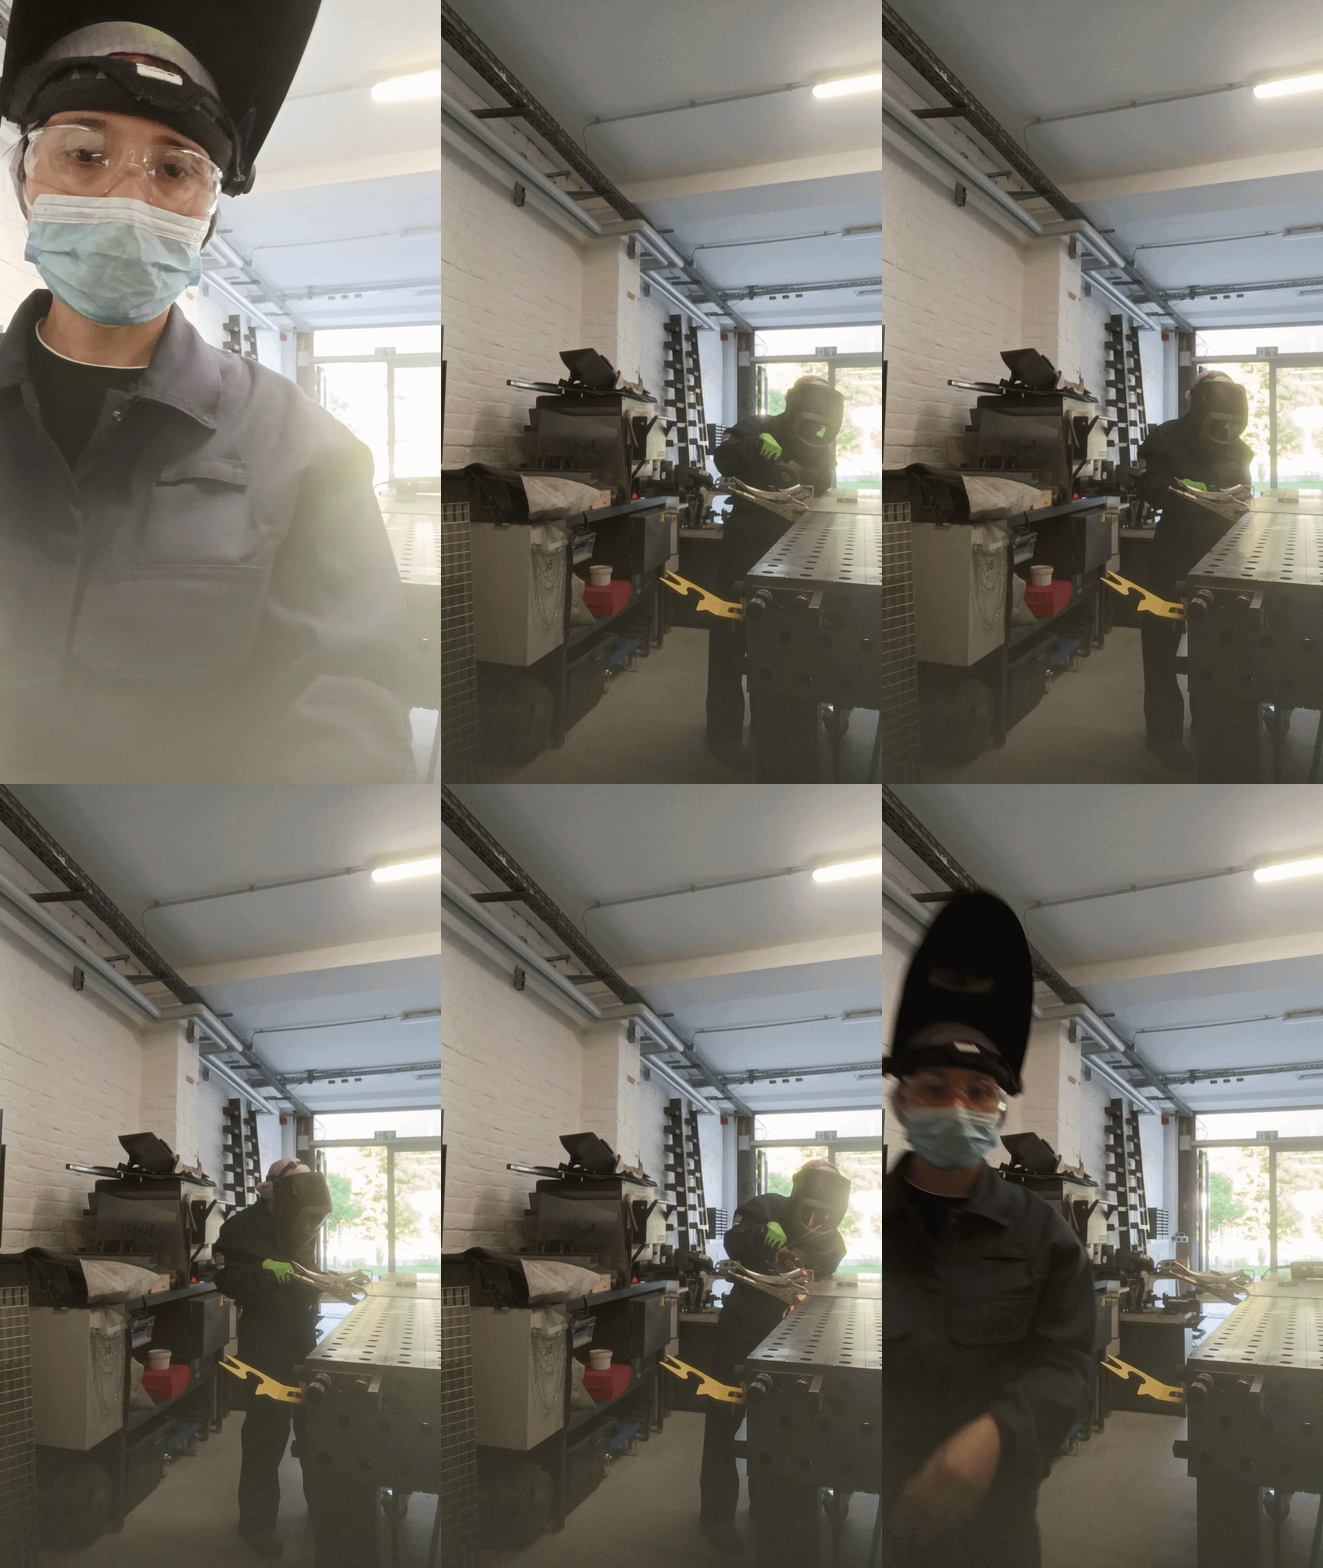
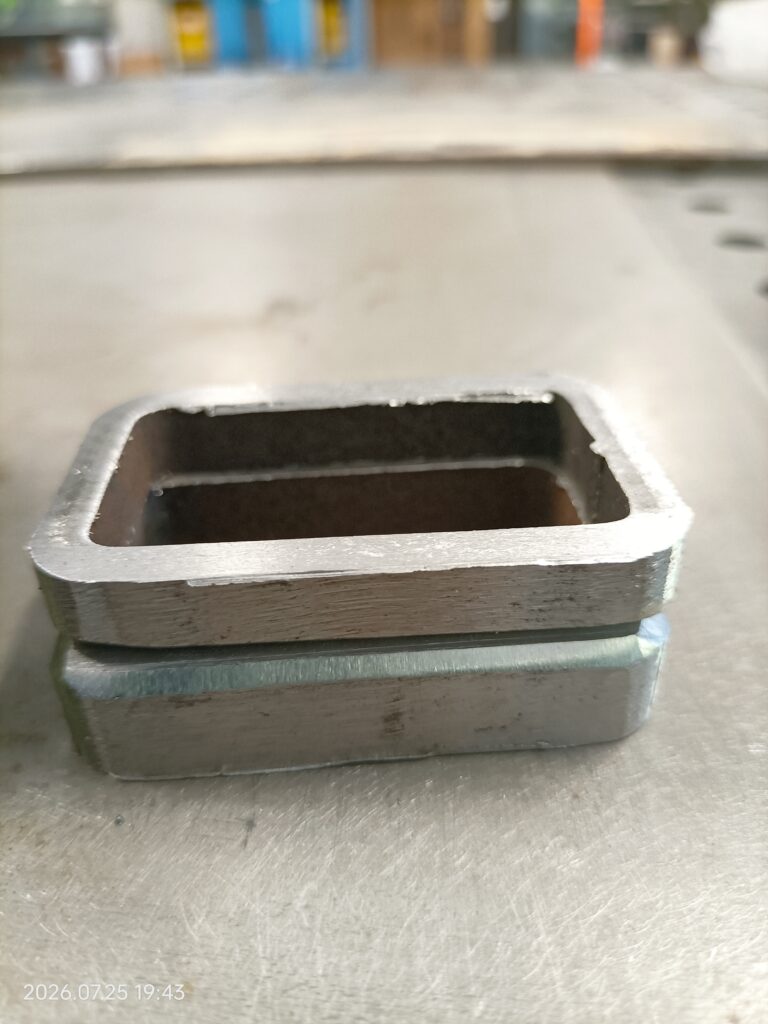
But as soon as I pulled the trigger on the MIG gun, my alignment was off—I completely missed the groove 😱.
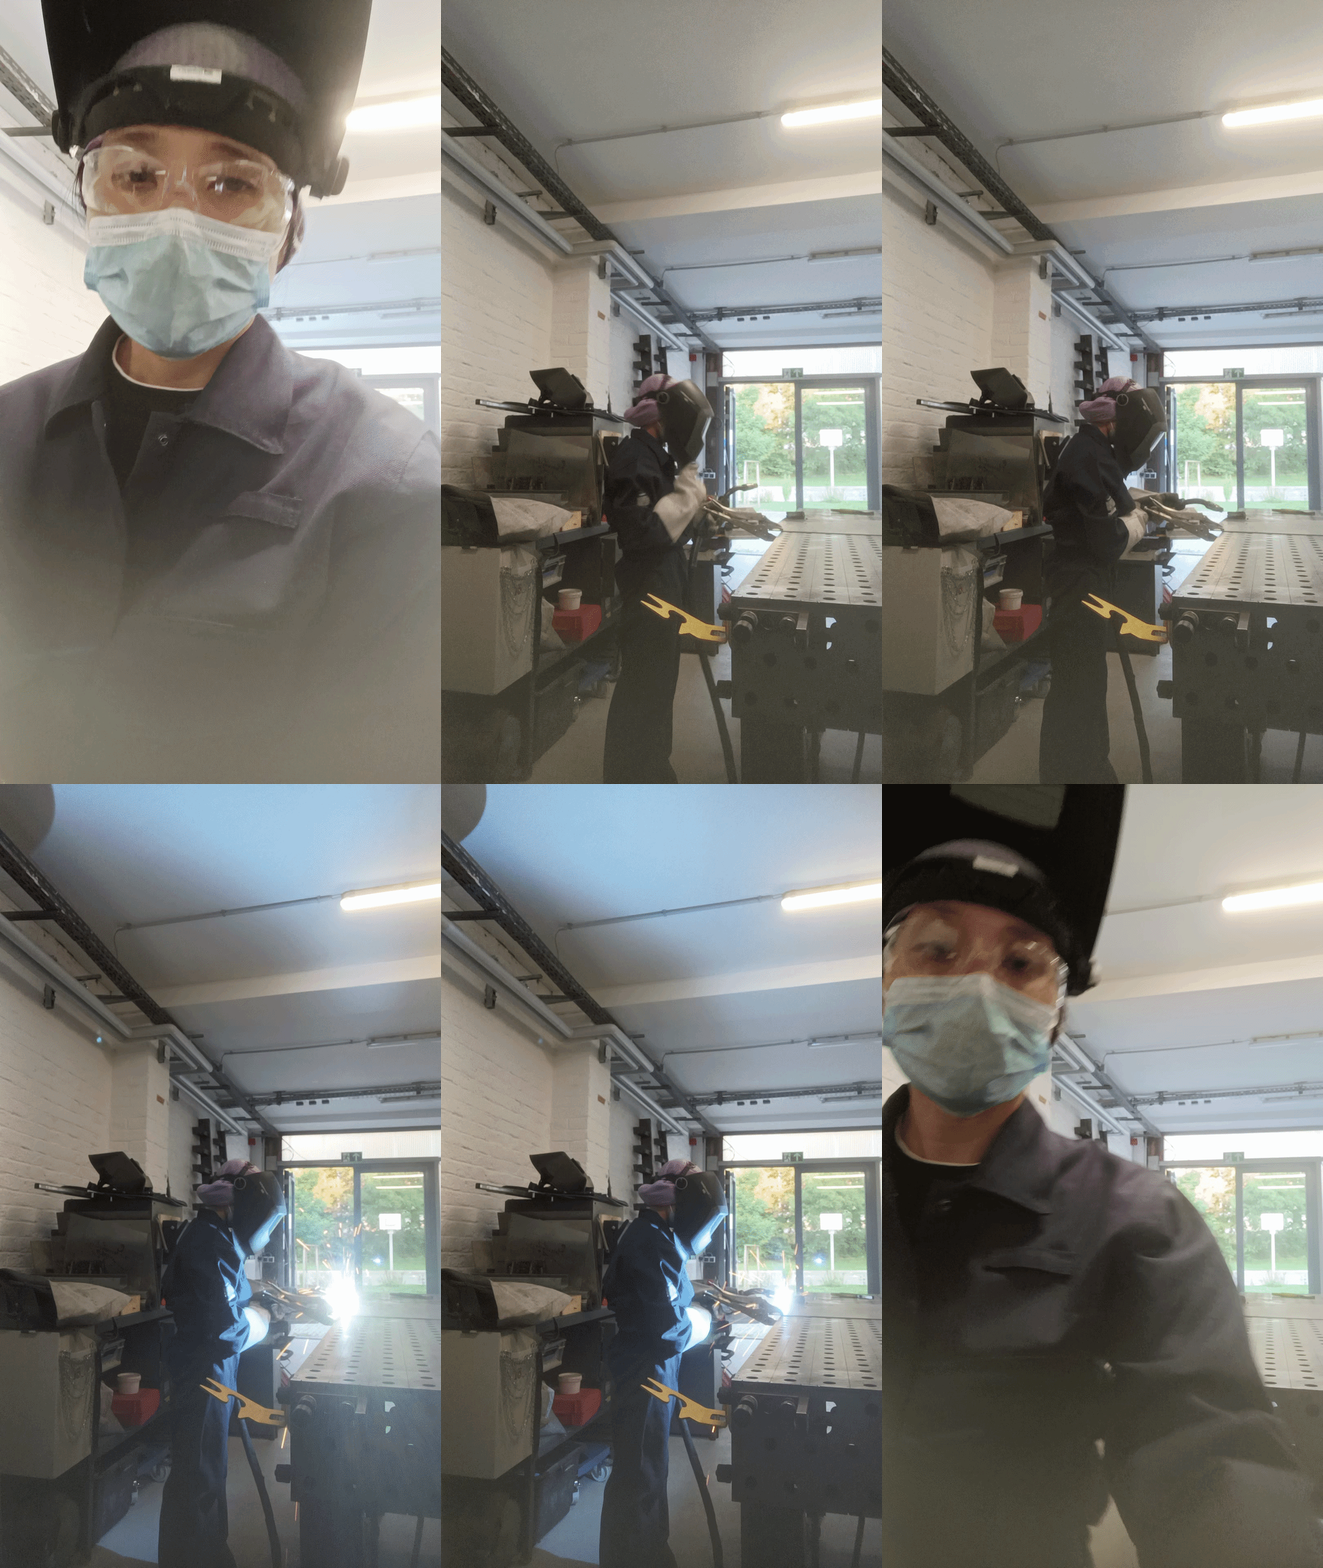
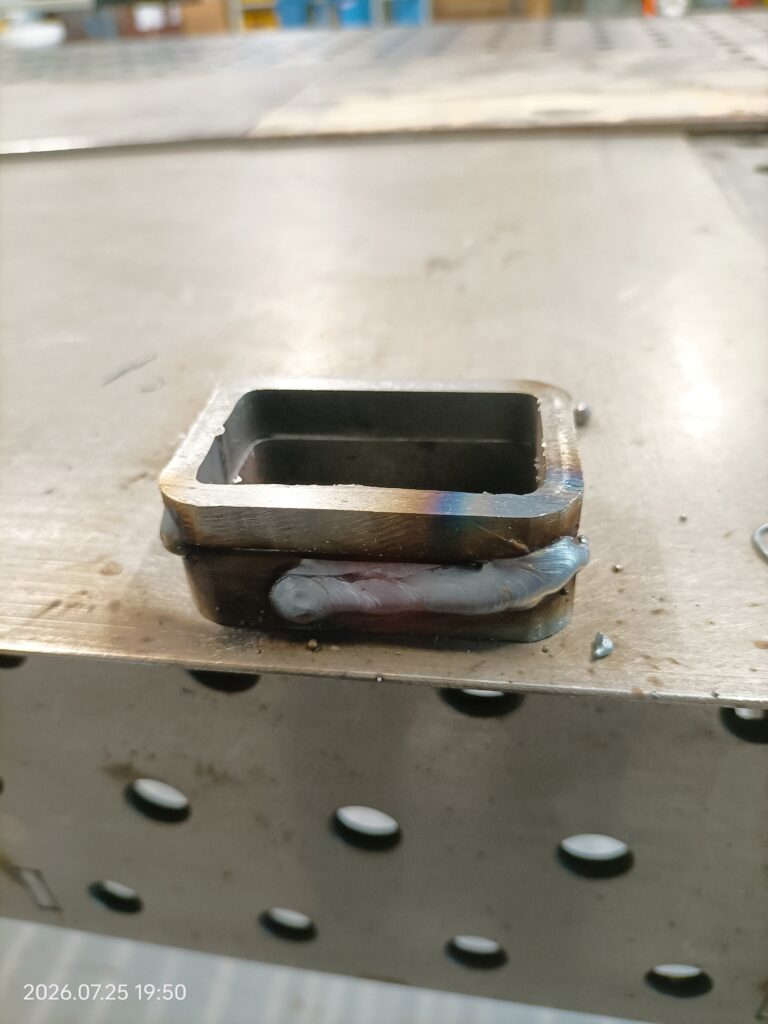
The Root Cause 🔎
After stepping back to analyze it, the engineering problem became clear: there wasn’t enough of an angle on my joint preparation for the MIG weld to successfully penetrate the metal. Without that proper gap and angle, the weld pool just sits on top instead of fusing the pieces together.
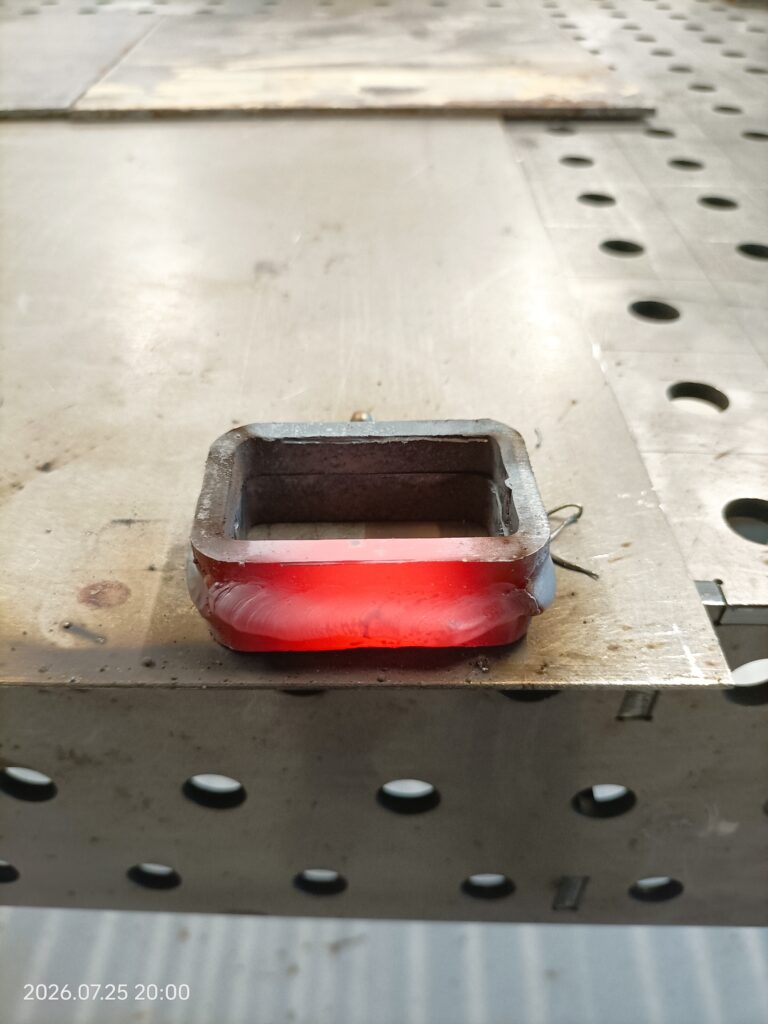
Too hot to handle 😐
Knowing When to Call It a Day
Normally, you just cut a new piece and try again. But since the main cutter was still stuck, I had to look at my options:
Option A: Swap the grinding disc on my angle grinder for a cutting disc. The catch? I forgot to bring the specific metal spanner wrench to change it. 🤔
Option B: Use one of the other angle grinders available in the lab. The catch? They were way too heavy for me to hold comfortably and control safely. 🙂↔️
In safety engineering, knowing your physical limits is just as important as knowing your tools. Working with a tool that is too heavy compromises your grip and control, which is an open invitation for a kickback accident. 📍
So, I made the best executive decision a maker can make: I ended the session, cleaned up my workspace, and walked away with a lot of great data for next time. 🌞
My Key Takeaways for Next Time:
Double-check the tool bag: Always verify you have your spanner wrenches and specific hand tools before leaving for the lab. 🛠️
Exaggerate the bevel: On small, thick pieces, a distinct, clean angle is absolutely non-negotiable for root penetration, even with a forgiving process like MIG. 🪚
Safety includes comfort: If a power tool feels too heavy or uncomfortable, trust your gut and don’t use it. Failures are just data points on the road to getting better. 👍
Next time, I’ll be back with the right angles, the right machine settings, and hopefully, a much better weld! ☺️
🛠️ Come Visit Us & Shape the Future Together!
Want to see where the magic (and the occasional welding mishap) happens? Come visit the FabLab in Chemnitz!
❤️ We are all about building a strong community with our neighbors, sharing skills, and showing who we are and what we do. Whether you are an experienced maker or a complete beginner, our doors are open for you to explore, learn, and collaborate on exciting local projects.
🎁 Support Our Mission: Donate Equipment
To keep our community thriving and open to everyone, we rely on teamwork and resources. If you have working tools or fabrication devices that you no longer use, consider donating them to the FabLab!
We are currently looking for equipment that helps us teach, create, and build together. Your donations directly support:
🤝 Community workshops and joint activities with our neighbors.
👍 Hands-on training for new members discovering the world of making.
🌟 Keeping crafting accessible to everyone in Chemnitz.
Drop by during our open hours from 4PM -8PM every Wednesday to check out the space, or get in touch if you have equipment you’d like to donate.
🌞 Let’s build something great together!
Leave a Reply