
When you’re pouring your heart into building a side hustle, expanding your creative work, or adding a new commercial stream in Germany, it’s easy to assume you can just drop a quick message to your local tax office and update your details. Honestly, I thought a simple informal change (Änderungsmitteilung) would do the trick. But the German tax system has its own way of doing things, and it quickly taught me otherwise.
Why a Simple Update (Änderung) Hit a Dead End:
The Strict Digital Mandate: Since January 1, 2021, the German tax authorities require all new business expansions and structural modifications to go strictly through the official electronic startup questionnaire (Fragebogen zur steuerlichen Erfassung).
Behind the Automated Walls: Sending an informal message just doesn’t trigger the proper tax-number allocation workflows or the electronic data mapping needed for a commercial trade (Gewerbebetrieb) and a VAT-ID. The system isn’t built to process brand-new revenue streams through a casual update.
Why Filing a New Fragebogen Using My Existing Tax Number Was the Only Way
Keeping My Tax Identity Connected: Even though I was launching a brand-new commercial side to my work, I’m still the same person. Because of that, I had to use my existing personal income tax number (Einkommensteuernummer) as the root identifier on the new form.
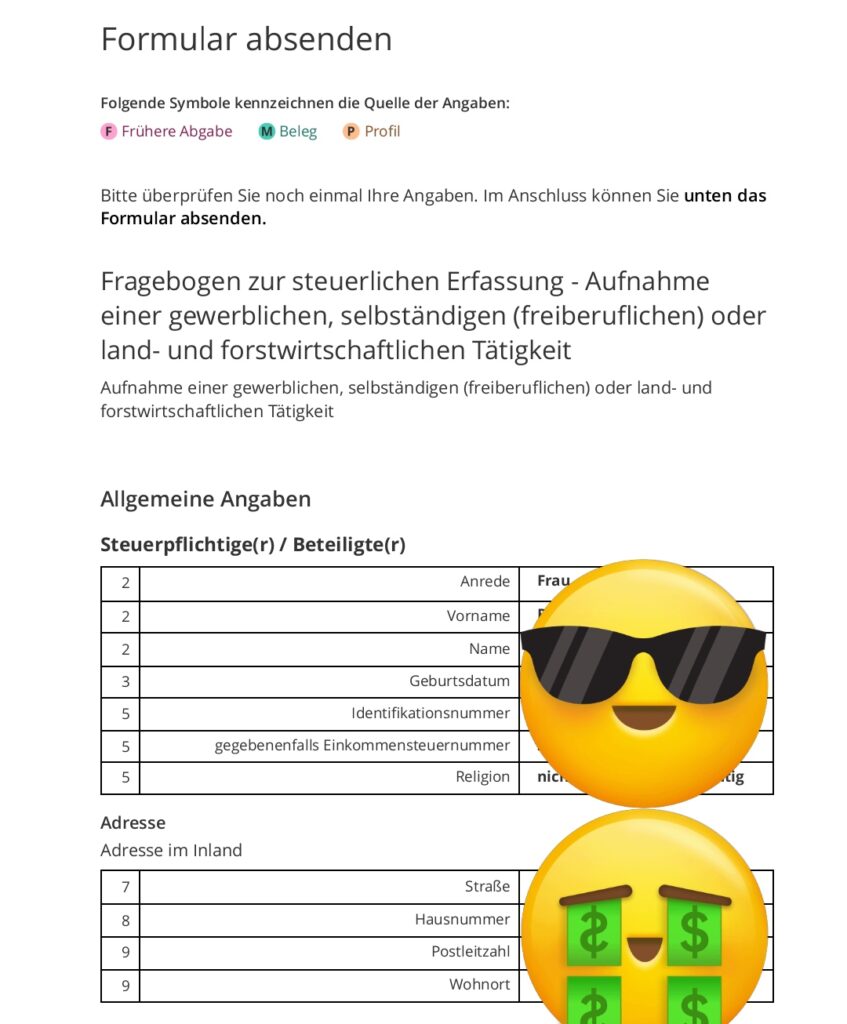
Expanding, Not Starting Over: Filling out the official digital questionnaire lets the Finanzamt cleanly link my new commercial activities and my VAT-ID application directly to my existing tax file without messing up my baseline identity.
Getting the Official Green Light: Submitting this form the right way ensures everything is legally sound, paving the way for my official business tax number and letting me finally hook up my details to platforms like Amazon KDP.
Step-by-Step: How to Fill Out and Submit Your New Fragebogen in ELSTER
If you find yourself in the same boat and need to officially register a new commercial stream alongside your existing work, here is the exact step-by-step walkthrough to get it done right:
Step 1: Log Into Your ELSTER Account
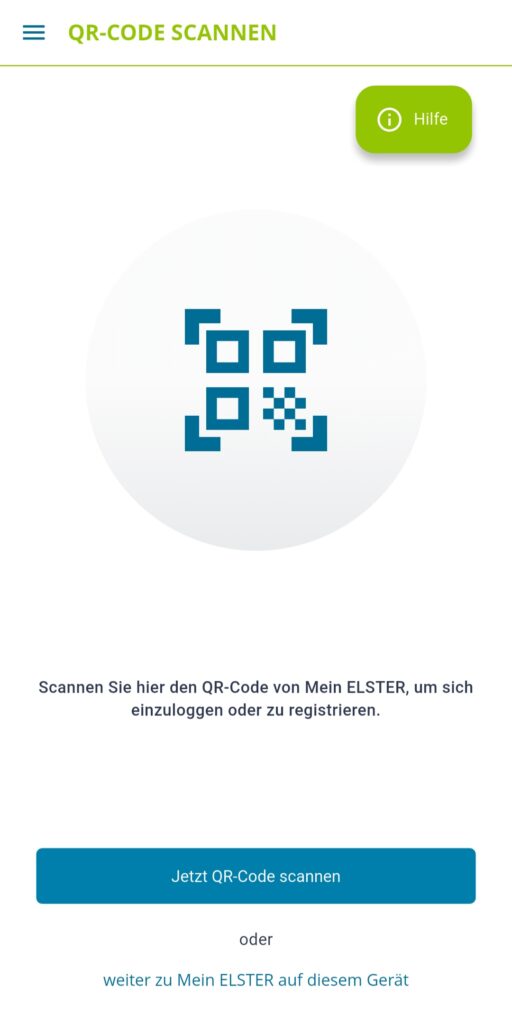
Head over to www.elster.de and log into your secure user portal using your certificate file or login method. Below is a sample:
Step 2: Navigate to the Correct Form
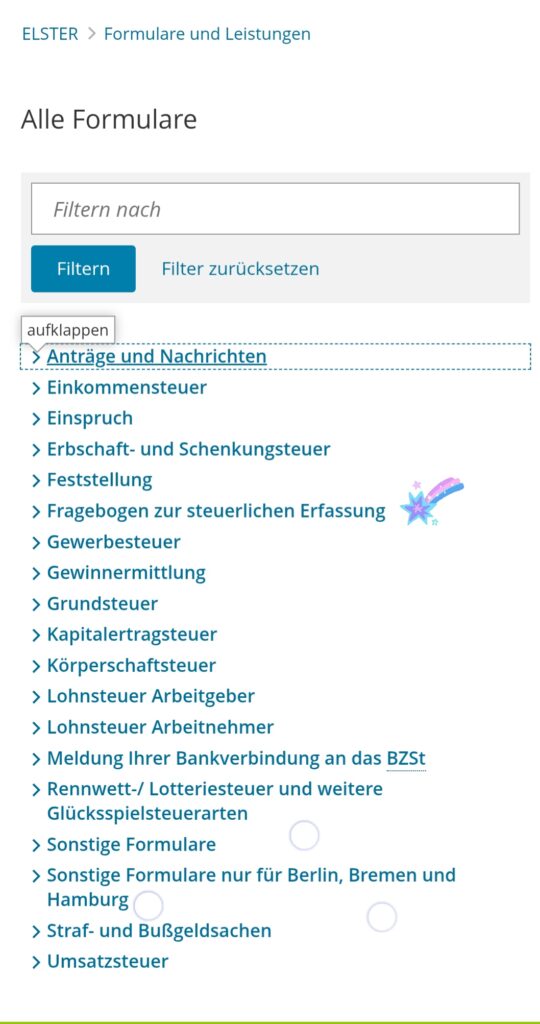
Go to the forms menu (Formulare & Leistungen) and select “Alle Formuläre”.
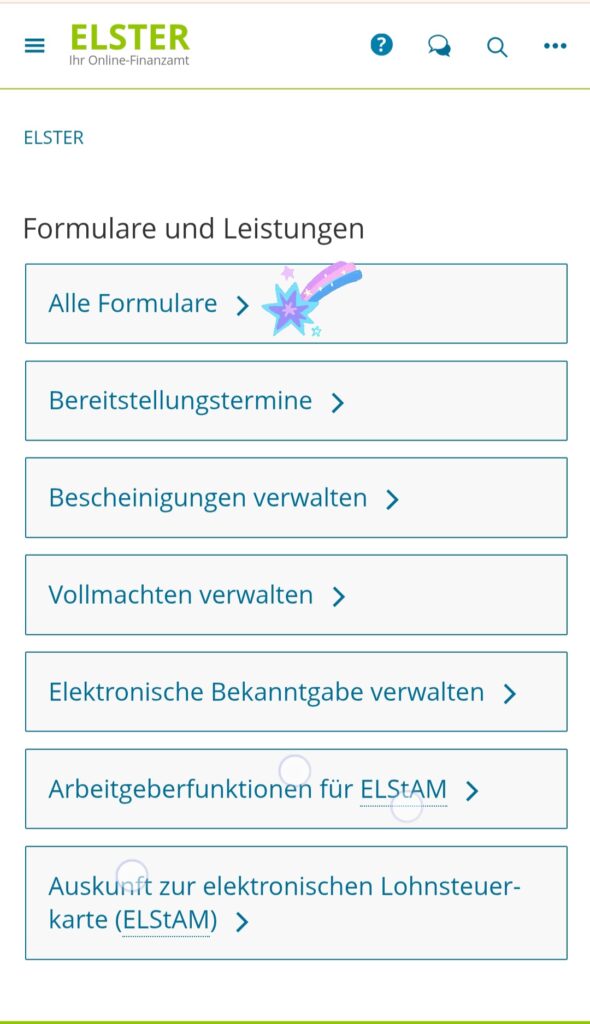
Look for “Fragebogen zur steuerlichen Erfassung” and choose the correct template for a sole proprietorship (Einzelunternehmen).
Step 3: Enter Your Existing Tax Information
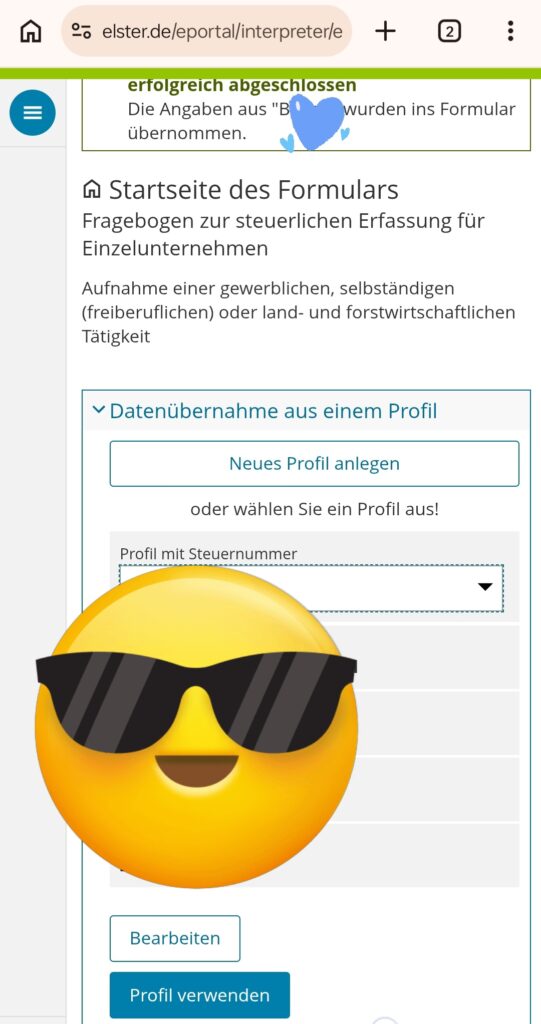
At the very beginning of the questionnaire, the system will ask if you already have a tax number.
Select the option indicating you already possess one, and enter your existing personal income tax number along with your current local tax office (Finanzamt). This anchors the new data directly to your established file.
Step 4: Describe Your Business Activities
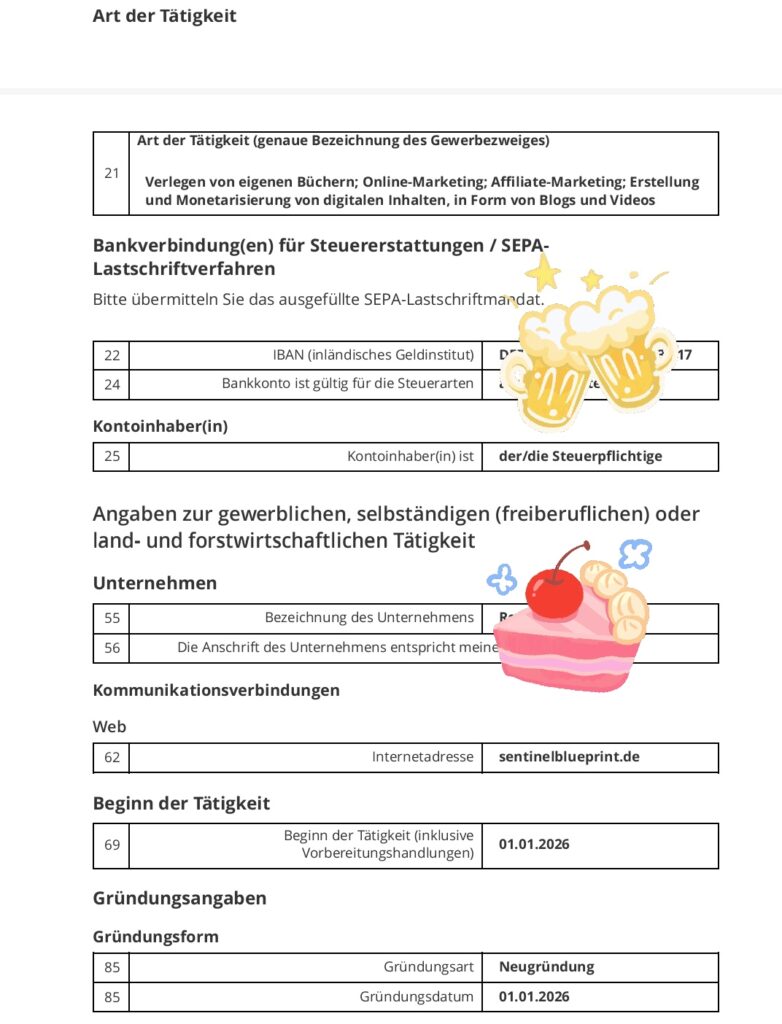
Clearly define your structural setup. If you are combining book publishing (freelance / Selbständige Arbeit) with online marketing or affiliate sales (commercial / Gewerbebetrieb), fill out both respective sections carefully.
Provide clean, concise descriptions of your activities and link your website ( for example I placed mine : sentinelblueprint.de).
Step 5: Balance Your Projected Profits (Voraussichtliche Einkünfte)
Make sure your numbers are completely consistent to avoid system flags:
Do not duplicate total revenue across fields.
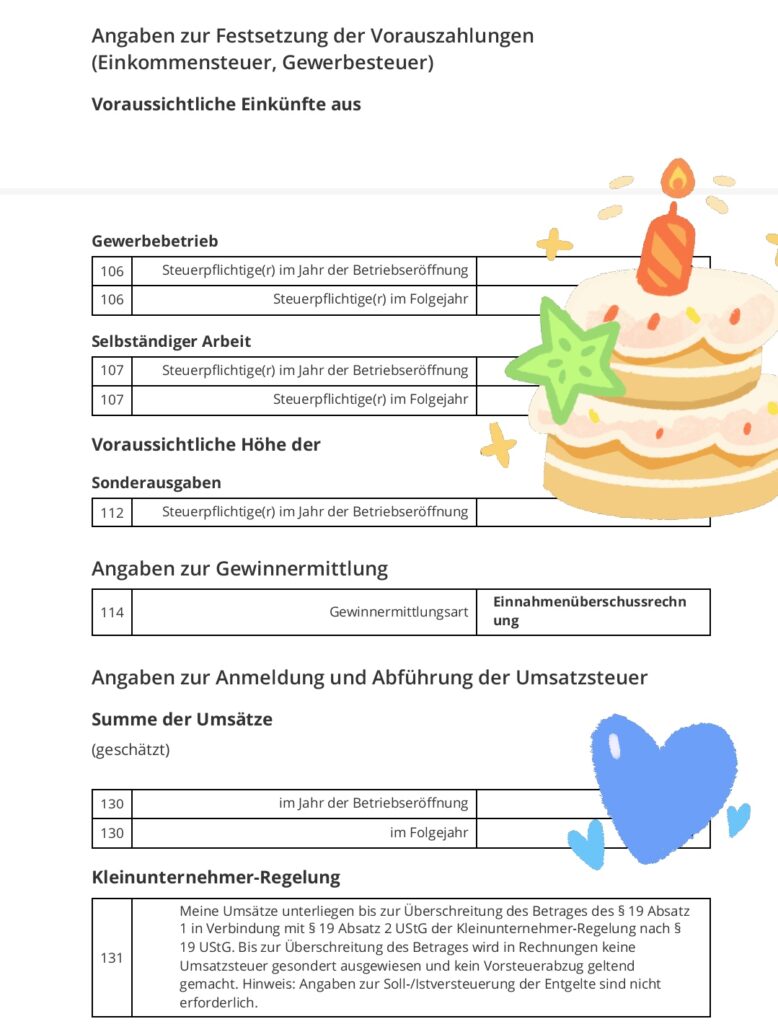
Ensure your expected net profits for trade and freelance categories align logically with your total anticipated sales revenue (Umsatz).
Example setup: For the opening year, split a modest estimated revenue cleanly across your trade and freelance profit lines.
Step 6: Set Your Tax and VAT Preferences
Kleinunternehmer-Regelung: If applicable, select the small business regulation (§ 19 UStG) so you are exempt from charging regular VAT on your invoices.
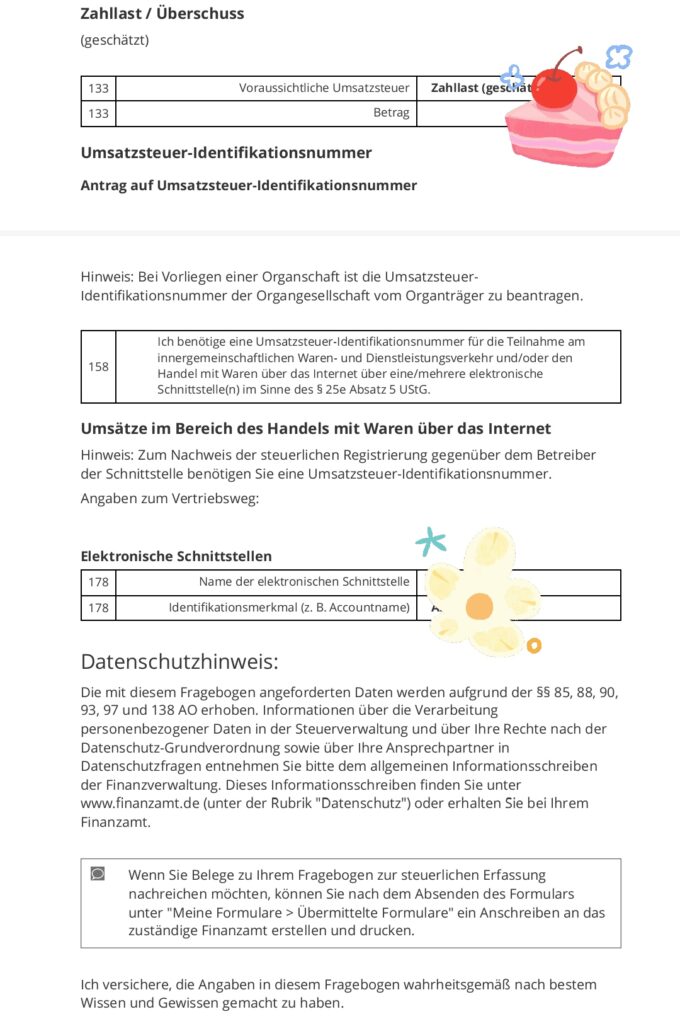
VAT ID (Ust-IdNr.): Check the box requesting a VAT identification number if you plan on handling cross-border digital transactions or connecting to platforms like Amazon.
Step 7: Review, Validate, and Submit
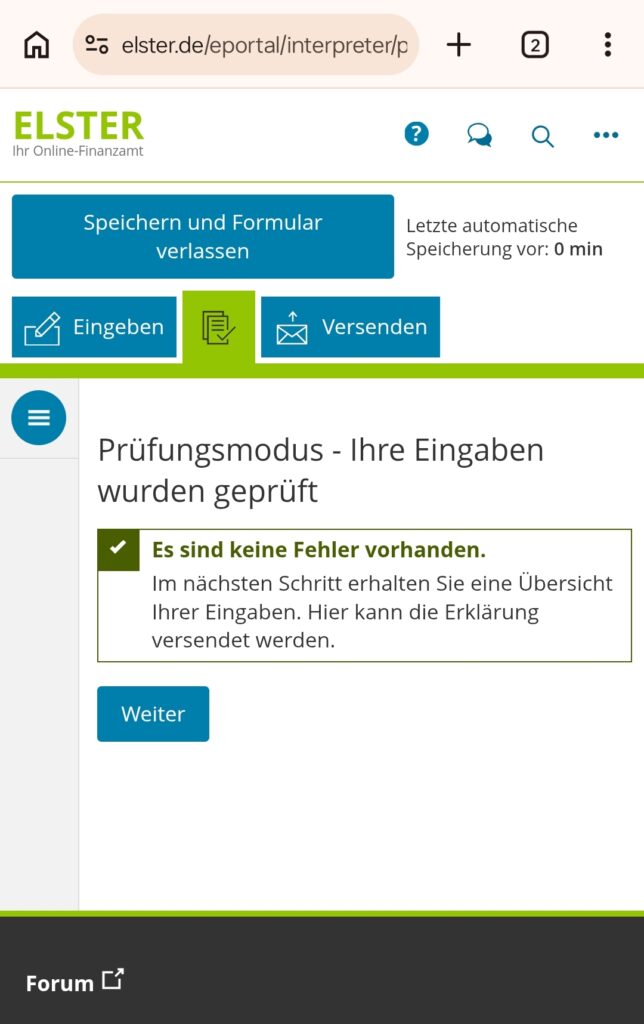
Run the built-in error check (Prüfen) inside ELSTER to make sure all mandatory fields are complete and logically sound.
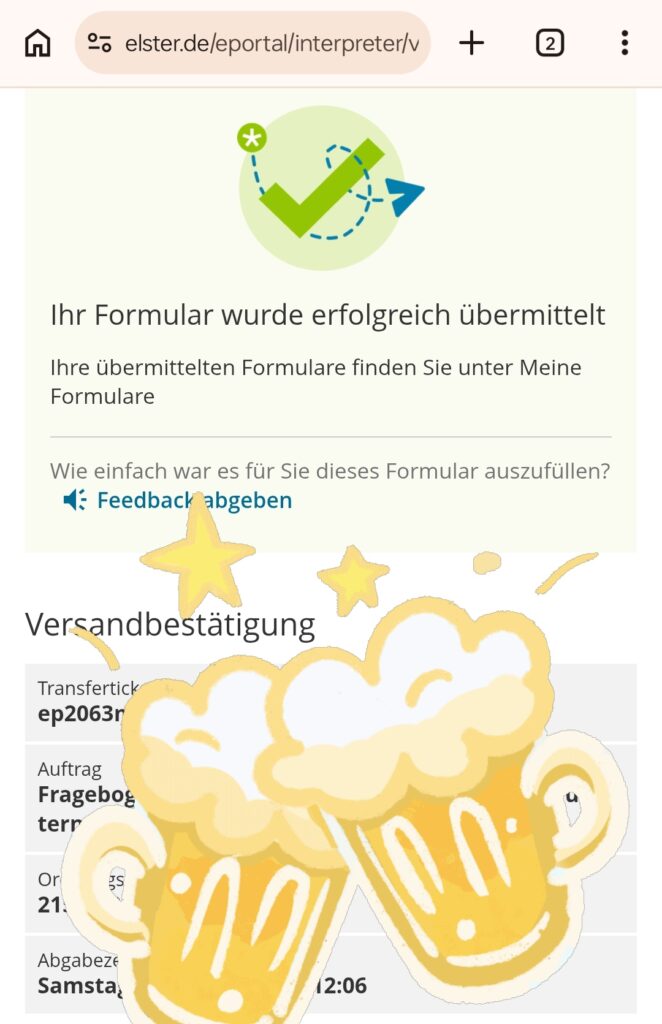
Electronically sign and transmit the questionnaire directly to your Finanzamt. Once processed, you’ll receive your updated official documentation and VAT ID in the mail, ready for your platform updates!
Leave a Reply